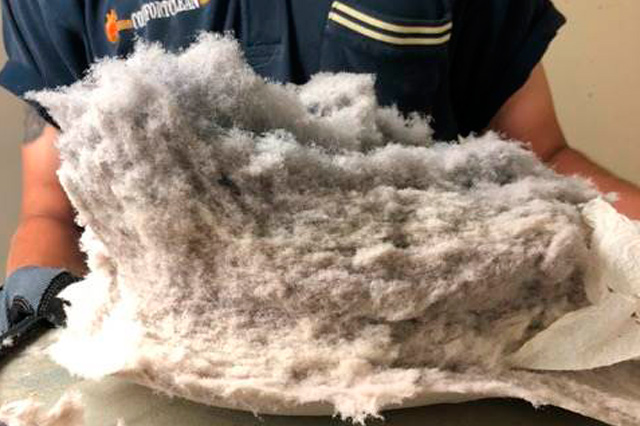
As a homeowner, you should know how to clean your dryer duct to prolong the use of your dryer. As clogged dryer ducts are one of the number one causes of house fires, properly cleaning out the ducts of your clothes dryer is essential.
The following blog will provide tips for DIY dryer vent cleaning. The best way to ensure that your ductwork is properly and thoroughly cleaned is to hire a professional claiming company to do the job. However, this guide will show you how to maintain your dryer between professional cleanings.
How to Clean your Dryer Duct
In order to clean your dryer duct, you need the following supplies:
- Broom
- Dustpan
- Dryer duct cleaning kit
- Electrical tape
- Power Drill
Step 1: Disconnect the Duct
First, you need to carefully pull the dryer out from the wall, making sure it is turned off. Next, unplug the dryer from the wall socket or turn off the gas valve you have a gas dryer. In the back of the dryer, you will then disconnect the dryer duct.
Step 2: Vacuum the Inside
Vacuum the inside of the dryer vent, using a vacuum with a hose attachment. Vacuum out as much of the lint, dirt, and debris as you can.
Step 3: Connect Your Power Drill with Flexible Rods
You should be able to purchase a dryer duct cleaning kit from any home repair or hardware store as well as online. It will contain flexible rods, which provide you with 12 feet of materials to clean your ductwork. Attach these rods together, taping with electrical tape to ensure that they stay connected, making sure to attach the rotating brush included in the kit first. Finally, attach the rod at the end to your power drill.
Step 4: Use the Drill and Rods
After assuring that everything is properly attached, turn on medium power so that it spins clockwise. Slowly push and pull it back and forth until you pull the brush out completely. This will cause the dirt, lint, and debris to spill out at your feet.
*Note: Do not operate the drill counterclockwise as this can cause the rods and brush to become unattached.
Step 5: Clean up any spillage
Use a broom and dustpan to clean up any dirt and debris from the duct cleaning process.
Step 6: Clean and Inspect
The exterior of the dryer vent is usually located near the roof or low to the ground. If you are unable to reach it, you should hire a professional company to complete the job. However, if you can reach it safely, repeat the above step outside.
Step 7: Reattach
Once you have finished the above, carefully reconnect the duct to the dryer vent and plug the dryer back in. If applicable, turn on the gas valve and test the dryer to ensure that it’s working properly.
How to Tell It’s Time to Clean Your Dryer Duct
Use the following to determine when it’s time for dryer duct cleaning:
- Clothes are not drying as usual
- The dryer is hot to touch
- You notice a burning smell when using the clothes dryer
- Clothes are hotter than usual at end of the cycle
- The lint filter is accumulating more lint than usual
- Increased levels of humidity in the laundry room
If you need any further assistance on how to clean the dryer duct, contact Comfort Clean. We will provide you with a free quote on dryer vent cleaning or air duct cleaning Oakville. Give us a call today!